Translate

Showing posts with label Chocolate. Show all posts

Monday, 18 February 2013

Rich Chocolate Marquise For a Sunday Family Lunch- Marquesa de Chocolate Para Una Comida de Domingo en Familia


Put your hand up if you spend Sunday's having lunch with your family or your in laws!
Some love it, and others hate it. In any case the best you can do to get through it is by enjoying a delicious Sunday lunch dessert!
The French are experts, and have a wide selection of traditional Sunday lunch desserts, what they call "Gâteau du dimanche". A great example is this Chocolate Marquise we had last Sunday using cheap ingredients we all have in our pantry.

Que levante la mano el que pasa los domingos comiendo en casa de su familia o de sus suegros!
Mientras unos lo detestan a otros les encanta. En cualquier caso la mejor mañera para sobrellevarlo es disfrutando de un delicioso postre!
Los Franceses son expertos en esta materia, y tienen una amplia selección de postres típicos de domingo, lo que ellos llaman "Gâteau du dimanche". Un buen ejemplo es esta Marquesa de Chocolate que tomamos el pasado domingo utilizando ingredientes asequibles que todos tenemos en la despensa.


Ingredients:
3 eggs
50 grs sugar
150 grs good quality dark chocolate
125 grs butter
1 1/2 gelatin sheets
1 teaspoon vanilla extract

Directions:
Put the gelatin sheets in a bowl with cold water.
Beat the eggs and sugar for 6 minutes.
Meanwhile melt the chocolate in a heat proof bowl. Once the chocolate is melted add the butter and stir until well incorporated. Finally add the gelatin sheets and the vanilla extract, again stir until well combined.
Add the chocolate mixture into the egg mixture and beat well for 2 minutes.
Put the batter into a long cake mold (previously covered with saran wrap) and leave to set in the fridge for at least 12 hours.
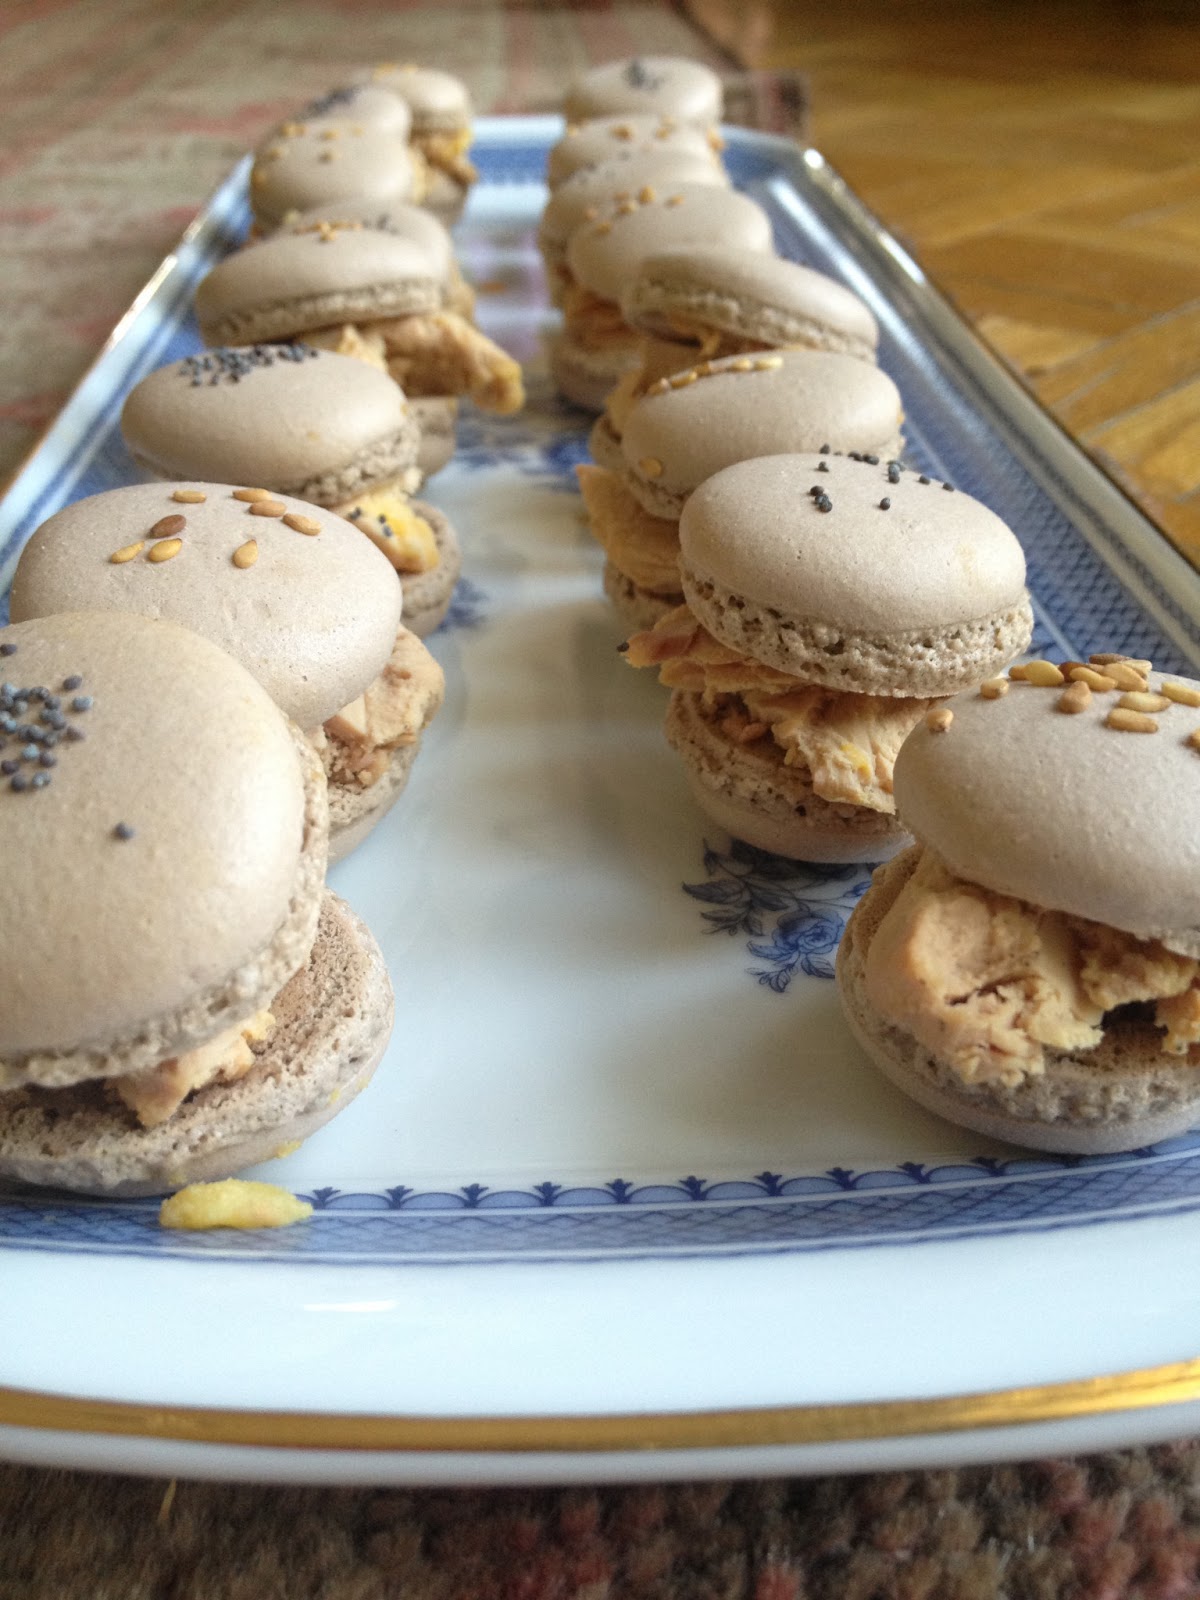
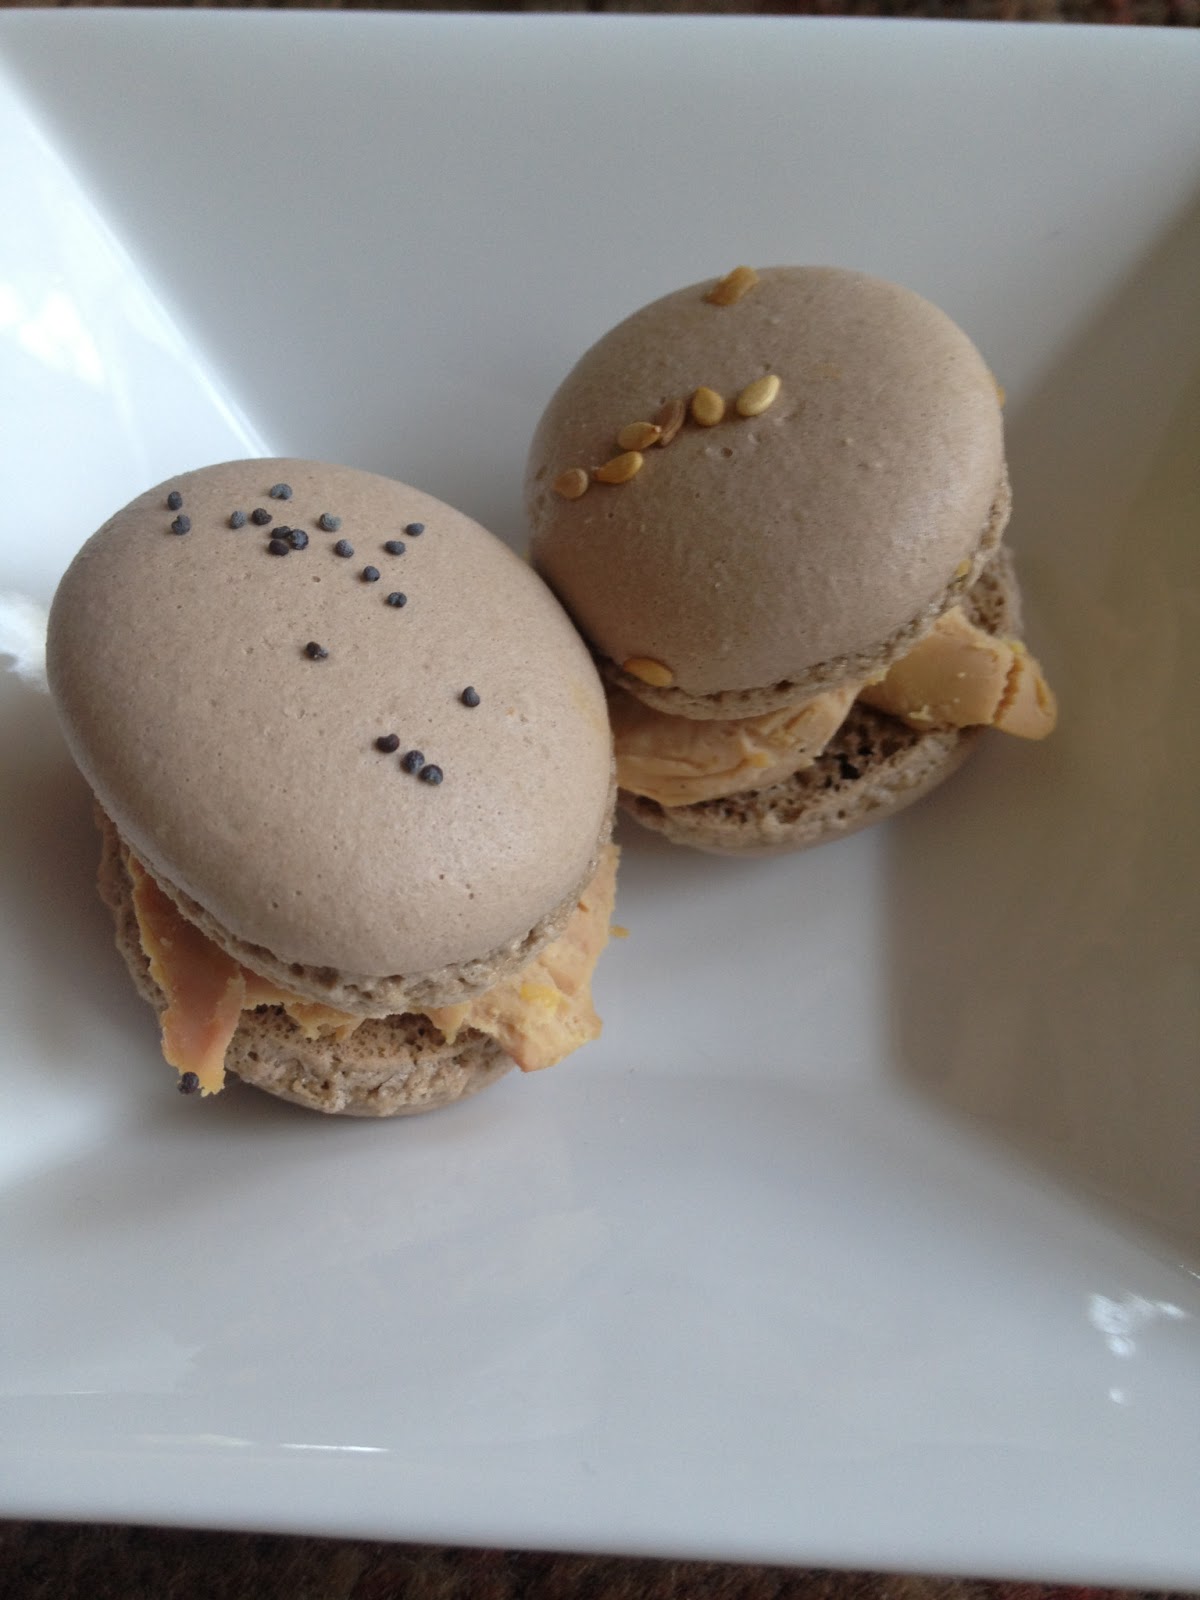
Once it's ready decorate it with white chocolate shavings and macarons (if you have any leftover like we did at home).
Et voilá!


Ingredientes:
3 huevos
50 grs azúcar
150 grs chocolate negro de buena calidad
125 grs mantequilla
1 1/2 hojas de gelatina
1 cucharadita extracto de vainilla

Modo de empleo:
Pon a remojo las hojas de gelatina en un ból con agua fría.
Bate los huevos y el azúcar durante 6 minutos.
Mientras derrite el chocolate al baño maría. Una vez derretido añade la mantequilla y mezcla hasta que se haya incorporado bien. Finalmente añade las hojas de gelatina y el extracto de vainilla a la mezcla del chocolate, y remuévelo bien hasta que esté totalmente incorporado.
Vierte la mezcla del chocolate a la de los huevos y el azúcar y vuelve a batir unos 2 minutos.
Pon la masa en un molde alargado de cake (previamente envuelto en film de cocina) y déjalo reposar en la nevera al menos 12 horas.
Una vez listo puedes decorarlo con lascas de chocolate blanco y macarons (si es que tienes restos cómo fue nuestro caso en casa).
Et voilá! 

Wednesday, 6 February 2013

Mission Perfect Macaron Part 2 (both sweet and savory) - Misión Macaron Perfecto Parte 2 (tanto dulce cómo salado)


So here we are back again on our mission of creating THE Perfect Macaron, and let me update you that we're almost getting there, we're soooooo close to it!!

Let's make a recap; on the last post I explained what were the main facts a perfect macaron must have (foot, shape, crunchy outside, chewy inside etc...). Well after researching we've discovering a few more important facts:
  • The egg whites: No store bought (don't be lazy and crack the eggs yourself!). It's better if you separate the egg yolks from the whites at home; preferrably from non fresh eggs (not old eggs that have been over a month in your fridge!). But eggs that haven't been just bought, maybe 1 or 2 days old (aproximately). Also, REALLY IMPORTANT, two days before you make the macarons, separate the egg whites from the yolks and leave them in a bowl in the fridge (cover it well!). Now, the night before you make them take the egg whites out of the fridge and leave it overnight in the kitchen at room temperature. Don't be scared or worried about this, because this is how REAL macarons are made, every single french pastry chef does it, so if they do it, we too!
  •  Food coloring:  It's best if you use either food coloring in gel or powdered dust. The results will be fantastic!
  • Temperature: 150ºC upper and lower heat without the fan on, and bake for 17 minutes. Anyway I suggest you keep an eye, you don't want these little babies to burn!
  • Piping tip: After trying with different sizes, we've found out the best for macarons is the tip number 6. The shell won't be too small neither too big, just the perfect bite size. However you're always welcome to pipe them bigger or smaller or even with shapes! 
  •  Meringue: The best meringue for macarons is the italian. So you need to make a syrup: boil 50grs water with 150 grs sugar, and let it reach 100ºC. Once it's at this temperature add it to the egg whites (while they are beating).

Bueno aquí estamos de nuevo en nuestra misión de crear el Macaron Perfecto, y dejadme que os diga que estamos muuuuuuyyyy cerca de conseguir nuestro objetivo!

Vamos a hacer un resumen, en el último post expliqué qué debía tener un macaron para ser perfecto (el pie, la forma, la cáscara exterior debía ser crujiente, el interior tenía que ser blandito y cremoso etc...). Bueno tras investigar un poco más hemos descubierto unos cuantos factores importantes:
  • La clara del huevo: Nada de las pasteurizadas que venden en el supermercado (no seáis vagos y cascar los huevos vosotros mismos!). Es mejor si tú mismo separas la yema de la clara en casa; preferiblemente de huevos que no sean frescos (ni se os ocurra utilizar huevos que llevan más de un mes en vuestra nevera!). Pero huevos que no sean recién comprados, que tengan 1 ó 2 días de antigüedad (aproximadamente). También, MUY IMPORTANTE, 2 días antes de hacer los macarons, separa la clara de la yema y lo conservas en un ból en la nevera (bien tapadito!). Entonces, la víspera de hacer los macarons, saca las claras de la nevera y déjalos en la cocina, a temperatura ambiente. No os asustéis por esto, ya que es así como se hacen los VERDADEROS macarons, todos los pasteleros franceses lo hacen así, por lo que si ellos lo hacen nosotros también!
  • Colorante alimentario: Para obtener los mejores resultados es preferible utilizar colorante en polvo o bien en gel.
  • Temperatura: Tener el horno a 150ºC con calor arriba y abajo y sin el ventilador, y cocinar durante 17 minutos. De todos modos el preferible estar atentos al horno para que no se os quemen estos pequeñines!
  • Boquilla: Tras probar varias boquillas de distintos tamaños, hemos descubierto que la mejor es la del número 6. El tamaño de la cáscara no será ni muy grande ni muy pequeño, el tamaño perfecto para comertelo de un bocado. Aunque siempre los puedes hacer del tamaño que más te guste, incluso hacerlos con formas!
  • Merengue: El mejor tipo de merengue para hacer los macarons es el italiano. Primero debes hacer un almíbar con 50 grs de agua y 150 grs de azucar, lo hierves hasta que alcance 100ºC de temperatura. Una vez alcazada la temperatura lo incorporas muy despacito a las claras (mientras se están batiendo).
Et voilá, this is the result of our second try with macarons! We painted the sweet ones with a bit of food coloring to make them more personal and give them a fun and minimalist look!

Et voilá, éste es el resultado de nuestro segundo intento con los macarons! Los dulces los pintamos con un poco de colorante alimentario para hacerlos más personales y darles un toque divertido y minimalista!


The sweet macaron: filled with a Nestle praliné chocolate ganache (sadly this chocolate can only be found in France).

El macaron dulce: relleno de una ganache de chocolate praliné de Nestle (lamentablemente esta tableta solo se puede comprar en Francia).


The savory macaron: topped with poppy and sesame seeds and filled with foie gras.

El macaron salado: cubierto por semillas de sésamo y amapola y relleno de foie gras.


We added these seeds, but feel free to decorate your macarons any way you like!

Nosotras añadimos estas semillas, pero los puedes decorar de la manera que más te guste!

The recipe? We'll post it soon very soon, just let us perfection a few small details, and you'll be free to enjoy the most perfect macarons you've ever had in your life!

¿La receta? Pronto muy pronto la publicaremos, dejadnos que perfeccionemos unos detallitos y podréis disfrutar de los mejores macarons que hayáis probado nunca!

Tuesday, 22 January 2013

Chocolate Cupcakes with Crunchy Fried Corn - Cupcakes de Chocolate y Kikos!


Fried corn? Has she gone mad? No, absolutely not! Actually fried corn or Kikos (as they are called in spain) match perfectly well with chocolate! They add a salty and crunchy twist that will make you a fan of this couple immediately!
Let me tell how I came up with this idea...

For a while ago I've been wanting to try a new vanilla cupcake recipe, as I'm always eager to experiment with new recipes.
The cake turned out pretty good, not too sweet, so this meant that it could be topped either with a sweet buttercream or ganache. But which one? A classic vanilla or chocolate? 
I decided to go with chocolate, however the little voice in my head kept on saying "that's too boring, do something fun, creative and original".
Suddenly a little bulb lit on top of my head! What if I add some crushed Kikos to the frosting? If there are recipes with walnuts, almonds or hazelnuts, why not this?!
So without giving it a second thought I proceeded to create this delicious treat!

¿Maíz frito? ¿Se ha vuelto loca? No, para nada! En realidad el maíz frito o Kikos  (como los llamamos aquí en España) hacen una estupenda pareja con el chocolate! Le añaden un toque salado y crujiente que te enganchará a este "matrimonio" inmediatamente!
Dejadme que os cuente cómo se me ocurrió esta idea...

Desde hace un tiempo llevo queriendo probar una nueva receta de cupcakes de vainilla  ya que siempre estoy dispuesta a experimentar con nuevas recetas.
El bizcocho salió fantástico, no demasiado dulce, por lo que pedía ser cubierto con un buttercream o ganache dulce. ¿Pero cuál? ¿El clásico de vainilla  o chocolate?
Opté por el de chocolate, pero la vocecita de mi cabeza me decía " eso es demasiado aburrido, haz algo divertido, creativo y original". 
De repente se me iluminó una bombilla sobre mi cabeza! ¿Y se le añado unos kikos machacados a la cobertura? Si hay recetas que llevan nueces, almendras o avellanas, ¿por qué no esto?!
Y sin pensarmelo dos veces me decidí a llevar a cabo esta deliciosa creación!


 First ground the kikos
Primero tritura los kikos

Mix with the ganache or chocolate buttercream (whatever you like!)
Mezclalo con la ganache o buttercream (lo que prefieras!)


Prepare a piping bag...
Prepara una manga pastelera...

ET VOILÁ!
Ingredients for the vanilla cupcakes:
1 1/4 cups cake flour
1 1/4 teaspoons baking powder
1/2 teaspoon salt
2 eggs
3/4 cups sugar
1 1/2 teaspoon vanilla extract
1/2 cup vegetable oil
1/2 cup buttermilk

In a bowl stir the flour, baking powder and salt, set aside.
Beat eggs, add sugar gradually. Add vanilla and oil, keep beating.
Slowly add half of the flour mixture and half of the buttermilk, beat well and add the rest. Beat until combined.
Pour the batter into the cups and bake at 180ºC for 12 to 14 minutes.

Ingredients for the chocolate and kikos frosting:
75 gr dark chocolate
100 ml cream
65 gr butter
100 gr icing sugar
crushed kikos

In a pan, heat the cream with the butter, once it's melted and before it boils add the chocolate. When the chocolate has melted add the sugar. Stir until well combined.
Let it cool in the fridge, and once it's thick and creamy add the crushed kikos.

Ingredientes para los cupcakes de vainilla:
1 1/4 tazas de harina de reposteria
1 1/4 cucharaditas de levadura
1/2 cucharadita de sal
2 huevos
3/4 taza de azúcar
1 1/2 cucharadita de extracto de vainilla
1/2 taza aceite vegetal
1/2 taza buttermilk

Mezclar la harina, levadura y sal. Dejar aparte.
Batir los huevos y añadir poco a poco el azúcar. Incorporar la vainilla y el aceite.
Añadir la mitad de la mezcla de la harina y del buttermilk, batir bien, finalmente añadir el resto que queda.
Poner la masa en los moldes individuales y cocinar en el horno a 180ºC durante 12-14 minutos.

Ingredientes para la cobertura de chocolate y kikos:
75 gr chocolate negro para postres
100 ml nata líquida
65 gr mantequilla
100 gr azúcar glaçé
kikos machacados

En una cacerola, calentar la nata con la mantequilla, una vez ésta se haya derretido y antes de que hierva se añade el chocolate. Cuando el chocolate esté derretido incorporar el azúcar. Mezclar bien.
Enfriar en la nevera hasta que esté cremoso y espeso. Mezclar los kikos machacados.


Saturday, 15 December 2012

Chocolate & Coconut Battenberg Cake - Battenberg de Chocolate y Coco


Is there any culinary marriage better than chocolate and coconut? I don't think so!
They are so great together in biscuits, mousses, candy bars (who doesn't love Bounty or Almond Joy?), and of course in cakes. At home we are huge fans of this couple and we hope they last forever!

This week we decided to re-invent the classic english Battenberg Cake, but instead of making it the traditional way with the almond taste and apricot jam, we gave it a twist using chocolate and coconut!
 It came out sooooo deliciously good I really can't wait to bake it again!


¿Hay algún matrimonio culinario mejor que el chocolate y el coco? No lo creo!
 Hacen tan buena pareja tanto en galletas, como mousses, chocolatinas (¿a quién no le encanta Bounty o Almond Joy?), y por supuesto en tartas. En casa somos grandes admiradores de esta pareja y esperemos que duren para siempre!

Esta semana decidimos re-inventar el clásico pastel británico Battenberg, en vez de cocinarlo a la manera tradicional con el sabor a almendra y la mermelada de albaricoque, quisimos darle un cambio usando chocolate y coco!
Salió tan deliciosamente rico, no veo el momento de volver a hacerlo!

 Ingredients 
For the coconut cake:
100 g softened butter
20 g of creme fraiche
180 g sugar 
1 packet of vanilla sugar
3 eggs 
150 g shredded coconut 
40 g all purpose flour 
1 pinch of salt
1 teaspoon baking powder
1/4 cup milk (or more if you want the cake less thick)

Directions:
Mix butter, cream, sugar and vanilla sugar.
Add eggs, coconut and milk.
Finish with the flour, salt baking powder.
Bake at 180 ° for 25 minutes

 
For the chocolate fondant: 

100 g dark chocolate 
150 g butter
30 g creme fraiche
180 g sugar
3 eggs
50 g flour
Pinch of salt
1 teaspoon baking powder
Directions: 
Melt the chocolate, butter and cream. Mix well.
Separate the egg yolks from the whites.
Add sugar and the egg yolks to the chocolate mixture. Then the flour, baking powder and salt.
Beat the egg whites and fold in gently the mixture.
Pour into pan and bake at 180 degrees for 25 minutes.

 
For the ganache (to stick the layers and cover the cake):

200 g dark chocolate
300 g cream
65 g butter
Directions

Heat the cream and remove from heat before boiling. Add the chocolate into small pieces and the butter. Mix well.
Use the ganache to glue the parts together and cover it all with the rest of the ganache.
Refrigerate.


Ingredientes
Para el pastel de coco:
100 g de mantequilla blanda
20 g de nata creme fraiche o nata espesa
180 g de azúcar
1 paquete de azúcar avainillada
3 huevos
150 g de coco rallado
40 g de harina de trigo
1 pizca de sal
1 cucharadita de levadura
1/4 taza de leche (o un poquito más si veis que la masa está muy espesa) 

Instrucciones:
Mezclar la mantequilla, creme fraiche, azúcar y azúcar avainillada.
Añadir los huevos, el coco y la leche. 

Terminar con la harina, la levadura y sal.
Hornear a 180 ºC durante 25 minutos

Para el fondant de chocolate:
100 g de chocolate negro
150 g de mantequilla
30 g creme fraiche
180 g de azúcar
3 huevos
50 g de harina
Una pizca de sal
1 cucharadita de levadura
Instrucciones:
Derretir el chocolate, la mantequilla y la nata. Mezclar bien.
Separar las yemas de las claras.
Añadir el azúcar y las yemas a la mezcla de chocolate. A continuación, la harina, la levadura y sal.
Batir las claras de huevo y envolver suavemente en la mezcla de chocolate. 

Hornear a 180ºC durante 25 minutos.

Para el ganache (para pegar las capas y cubrir la tarta):
200 g de chocolate negro
300 g de nata líquida
65 g de mantequilla 

Instrucciones:
Calentar la nata y retirar del fuego antes de hervir. Añadir el chocolate en trozos pequeños y la mantequilla. Mezclar bien.
Usa el ganache para pegar las piezas juntas se cubre todo con el resto de la tarta con el resto de ganache.
Refrigerar.


Tuesday, 4 December 2012

Birthday Cake For a One Year-Old - My First Order!


Last weekend I had my first official order for the birthday party of a one year old.
The mother of the birthday boy asked for a traditional chocolate cake topped with a fluffy buttercream.
So now the only thing left was to decide on the shape and theme of the cake.
As it was his first birthday party I decided to stick with something simple but yet colourful and original, a 1 shaped cake with yellow frosting and covered with Smarties.
Where did my inspiration come from? My mother and the cake she made for my 2nd birthday party!

El pasado fín de semana tuve mi primer encargo oficial para la fiesta de cumpleaños de un niño de un año de edad.
Para la tarta, la madre del homenajeado, me pidió un bizcocho de chocolate cubierto por un cremoso buttercream.
Ya solamente quedaba decidir la forma y temática del pastel. Al ser un primer cumpleaños opté por algo simple, original y colorido, una tarta con forma de 1 con un buttercream amarillo y todo ello recubierto de Smarties.
¿De dónde me llegó la inspiración? De la tarta que me hizo mi madre para mi segundo cumpleaños!

One-year-olds may be too young to eat the Smarties but they sure do enjoy the colours of them, and in this case Luca (the birthday boy) loved it!
Pese a que niños de tan solo 1 año de edad sean muy pequeños para poder comer los Smarties, les encantan sus colores, y en este caso a Luca (el cumpleañero) le entusiasmó!

Once the design, cake, frosting and decoration was decided all I needed was to get started with it!
Una vez ya estaba decidido el diseño, bizcocho, cobertura y decoración de la tarta, ya solo quedaba empezarla!

For the cake I used the best never-fail chocolate cake recipe, from none other than the Queen of Baking: Martha Stewart!

Para el bizcocho utilicé la mejor receta, que nunca falla, de tarta de chocolate de la reina de la reposteria Martha Stewart!


For the frosting I decided to make tangy lemon buttercream icing for which I used about 500 grms of softened butter (yes it's a lot, but it was a really big cake!), 2 1/2 cups cofectioners sugar, 2 tablespoons milk, lemon juice and zest; and for that bright yellow colour I used Wilton's Golden Yellow Icing Colour.

Para la cobertura deicidí hacer un buttercream de limón, para el que utilicé unos 500 grms de mantequilla blanda (sí es mucha, pero la tarta era grandísima!), 2 1/2 tazas de aúcar glaçé, 2 cucharadas soperas de leche, zumo y ralladura de limón; y para conseguír ese brillante color amarillo use el colorante Golden Yellow de Wilton.

Once the cake was formed to figure a 1 and covered with the frosting I starting sticking the mini Smarties.
For the name I decided to use  the green coloured sweets as they stand out, and cover all of the sides with the remaining candy.

Una vez la tarta ya estaba cortada en forma de 1 y cubierta con el buttercream empecé a pegar los mini Smarties. Para destacar el nombre utilicé los de color verde, y cubrí todo los laterales con los caramelos sobrantes.

Et voilá, 45 very long minutes later the cake was ready!

Et voilá, tras 45 largos minutos la tarta ya estaba lista!


If you are interested in making an order please send a mail with your enquiry to brauliaskitchen@gmail.com!
From cakes to pies, cupcakes, pavlovas, cookies, brownies, petit fours, you name it we make it!

Para realizar un pedido envía tu solicitud a brauliaskitchen@gmail.com!
Desde tartas a pies, cupcakes, paulovas, todo tipo de galletas y cookies, brownies, petit fours, lo que quieras, te lo preparamos!

Saturday, 1 December 2012

Chocolate Orangettes

A few days ago while having lunch at my sister's house, my brother in law came up with the idea of making orangettes.
It's basically candied oranges covered with a nice good quality dark chocolate; sounds simple, and inexpensive but for some reason they are sold at really high prices at every other bakery.
This led to a debate about how 3 simple and cheap ingredients, that everyone has at home, can end up being sold at prices that can sometimes be outrageous.
So finally I decided to give it a try myself and see if it was worth making them at home rather than buying them.

The procedure goes as follows:

First of all you must cut the orange peel in slices (the width should be almost 1cm).
Blanch them in water at least 4 times to get rid of any bitterness. To do this put the orange rinds in water and once it starts boiling strain them and restart the same process.

 Remember it has to boil 4 times!

So once you've blanched them, it's time to candy the rinds.

For 5 large oranges I used 1/2 liter of water and 250 grms of sugar. I poured both ingredients into a saucepan and once the sugar had dissolved and started to boil I incorporated the orange peel. This step can take a while, 45 minutes or so at medium to low heat and stirring once in a while. The peel strips will be ready once they become translucent.
What's the next step? Leave them to dry over a cool rack for 4 - 5 hours (I left mine for almost 24 hours!). Check out how translucent they are, that's what they should look like!
Keep the leftover syrup , it can be useful in sooooo many ways, for fruity cocktails, to soak over a cake, anything!

Once the strips are dry, the last step will be dipping them in tempered dark chocolate (I used 70% dark chocolate).
Chop the chcolate (200 grms) pour 2/3 over a heat proof bowl and melt it, the temperature must rise to 50ºC, remove from the heat and add the remaining 1/3 chopped chocolate.  Let it cool to 26/27ºC and once again put it over the heat until it's at 32ºC, now it's at a perfect temperature to coat without being too runny.
Dip the strips with the help of two forks and place over a cookie sheet to cool.
Leave for 1 or 2 hours (max) to dry. 

Et voilà! 

In conclusion, these treats are a little time consuming and messy, but not at all difficult and what's most important, they taste delicious! So from now on, no more store bought, just homemade orangettes!

And last but not least I want to give special thanks to Naranjas Orbe for having such great oranges, I will definitely be using them for more recipes!

Saturday, 17 November 2012

Effortless Chocolate Walnut Biscotti

Having friends over for tea or coffee, and you don't have a clue of what to serve?

I'll tell you, Biscotti!


These traditional italian cookies are easy, tasty, and most important CHEAP!! And what's more, you can add to the dough whatever you want, dried apricots, pistachios, hazelnuts, cranberries, white chocolate chips...ANYTHING!


They are absolutely perfect to have with anything, with a warm drink in these cold autumn days, or a delicious ice-cream in a hot summer day.


Remember if you want to give a great impression in a dinner or at home, without having to spend hours and hours in the kitchen baking, these are great!!


Ingredients:
85 grs softened butter
2 cups all purpose flour
1/2 cups cocoa powder
1 teaspoon baking soda
1/4 teaspoon salt
1 cup sugar
2 large eggs
1 cup walnuts (or any other ingredient you want)

  1. Preheat the oven at 180ºC.
  2. In a medium bowl whisk flour, cocoa, baking soda and salt. In a bowl of an electric mixer cream the butter and sugar until it's light and fluffy. Add the eggs one at a time and beat until it's well combined. Add the flour mixture and stir to form a stiff dough. Finally add the nuts.
  3. Transfer the dough to a baking sheet (with butter and flour if necessary) and form into a log flattened (careful this can be a little messy!). Bake for 25-28 minutes.
  4. Let it cool for 5-10 minutes and cut into pieces. Once done, re-bake for 8 minutes (that's why they are called biscotti, because it's twice baked!).
Et voilà! Enjoy!

Thursday, 15 November 2012

Cream Cheese Brownies


Yes, I declare myself a huge fan of brownies! But not any type, only those that are super moist, fudgy, sweet, and will make you more and more addicted as you take a bite after another.

For a while now, I wanted to try and bake my own cream cheese brownies, just to give it a try and see if it  really was worth becoming addicted to them too. And thank god I decided to go for it! These brownies totally ROCK!

Searching for the perfect recipe I came across these by Martha Stewart.
I modified it just a little bit, and they turned out fantastic! They really were a huge hit in a dinner with friends.

So once again, thank you Martha for coming up with such a great brownie recipe!


Recipe (adapted from Martha Stewart)

Ingredients:
140 grs butter (113 grs for the brownie and 28 grs for the cream cheese mix)
1 cup plus 2 tablespoons flour
1/4 cup baking cocoa
1/2 teaspoon baking powder
1/2 teaspoon salt
1 1/2 cups caster sugar 
226 grs baking chocolate
113 grs cream cheese
3 eggs plus 1 egg yolk
2 teaspoons vanilla extract (one for the brownie batter and the other for the cream cheese mix)

1 - Preheat the oven at 180ºC. In a bowl whisk flour (just the 1 cup), baking soda, salt and cocoa. Set aside.
2 - Melt chocolate with butter in a heat proof bowl. Once it's melted add 1 1/4 cups of sugar, mix, then add one egg at a time and a tsp of vanilla and mix until well incorporated. Finally add the dry ingredients, but be careful not to overmix!
3 - For the cream cheese batter, whisk the cream cheese with 2 tablespoons of butter. Add 1/4 cup of sugar, egg yolk, tsp of vanilla and 2 tablespoons of flour.
Alternately spoon the chocolate mix and the cream cheese into a pan. With the tip of a knife swirl to marble.
4 - Bake for 50 - 60 minutes aproximately.

Et voilà! Enjoy!