

So here we are back again on our mission of creating THE Perfect Macaron, and let me update you that we're almost getting there, we're soooooo close to it!!
Let's make a recap; on the last post I explained what were the main facts a perfect macaron must have (foot, shape, crunchy outside, chewy inside etc...). Well after researching we've discovering a few more important facts:
- The egg whites: No store bought (don't be lazy and crack the eggs yourself!). It's better if you separate the egg yolks from the whites at home; preferrably from non fresh eggs (not old eggs that have been over a month in your fridge!). But eggs that haven't been just bought, maybe 1 or 2 days old (aproximately). Also, REALLY IMPORTANT, two days before you make the macarons, separate the egg whites from the yolks and leave them in a bowl in the fridge (cover it well!). Now, the night before you make them take the egg whites out of the fridge and leave it overnight in the kitchen at room temperature. Don't be scared or worried about this, because this is how REAL macarons are made, every single french pastry chef does it, so if they do it, we too!
- Food coloring: It's best if you use either food coloring in gel or powdered dust. The results will be fantastic!
- Temperature: 150ºC upper and lower heat without the fan on, and bake for 17 minutes. Anyway I suggest you keep an eye, you don't want these little babies to burn!
- Piping tip: After trying with different sizes, we've found out the best for macarons is the tip number 6. The shell won't be too small neither too big, just the perfect bite size. However you're always welcome to pipe them bigger or smaller or even with shapes!
- Meringue: The best meringue for macarons is the italian. So you need to make a syrup: boil 50grs water with 150 grs sugar, and let it reach 100ºC. Once it's at this temperature add it to the egg whites (while they are beating).
Bueno aquí estamos de nuevo en nuestra misión de crear el Macaron Perfecto, y dejadme que os diga que estamos muuuuuuyyyy cerca de conseguir nuestro objetivo!
Vamos a hacer un resumen, en el último post expliqué qué debía tener un macaron para ser perfecto (el pie, la forma, la cáscara exterior debía ser crujiente, el interior tenía que ser blandito y cremoso etc...). Bueno tras investigar un poco más hemos descubierto unos cuantos factores importantes:
- La clara del huevo: Nada de las pasteurizadas que venden en el supermercado (no seáis vagos y cascar los huevos vosotros mismos!). Es mejor si tú mismo separas la yema de la clara en casa; preferiblemente de huevos que no sean frescos (ni se os ocurra utilizar huevos que llevan más de un mes en vuestra nevera!). Pero huevos que no sean recién comprados, que tengan 1 ó 2 días de antigüedad (aproximadamente). También, MUY IMPORTANTE, 2 días antes de hacer los macarons, separa la clara de la yema y lo conservas en un ból en la nevera (bien tapadito!). Entonces, la víspera de hacer los macarons, saca las claras de la nevera y déjalos en la cocina, a temperatura ambiente. No os asustéis por esto, ya que es así como se hacen los VERDADEROS macarons, todos los pasteleros franceses lo hacen así, por lo que si ellos lo hacen nosotros también!
- Colorante alimentario: Para obtener los mejores resultados es preferible utilizar colorante en polvo o bien en gel.
- Temperatura: Tener el horno a 150ºC con calor arriba y abajo y sin el ventilador, y cocinar durante 17 minutos. De todos modos el preferible estar atentos al horno para que no se os quemen estos pequeñines!
- Boquilla: Tras probar varias boquillas de distintos tamaños, hemos descubierto que la mejor es la del número 6. El tamaño de la cáscara no será ni muy grande ni muy pequeño, el tamaño perfecto para comertelo de un bocado. Aunque siempre los puedes hacer del tamaño que más te guste, incluso hacerlos con formas!
- Merengue: El mejor tipo de merengue para hacer los macarons es el italiano. Primero debes hacer un almíbar con 50 grs de agua y 150 grs de azucar, lo hierves hasta que alcance 100ºC de temperatura. Una vez alcazada la temperatura lo incorporas muy despacito a las claras (mientras se están batiendo).
Et voilá, éste es el resultado de nuestro segundo intento con los macarons! Los dulces los pintamos con un poco de colorante alimentario para hacerlos más personales y darles un toque divertido y minimalista!

The sweet macaron: filled with a Nestle praliné chocolate ganache (sadly this chocolate can only be found in France).
El macaron dulce: relleno de una ganache de chocolate praliné de Nestle (lamentablemente esta tableta solo se puede comprar en Francia).

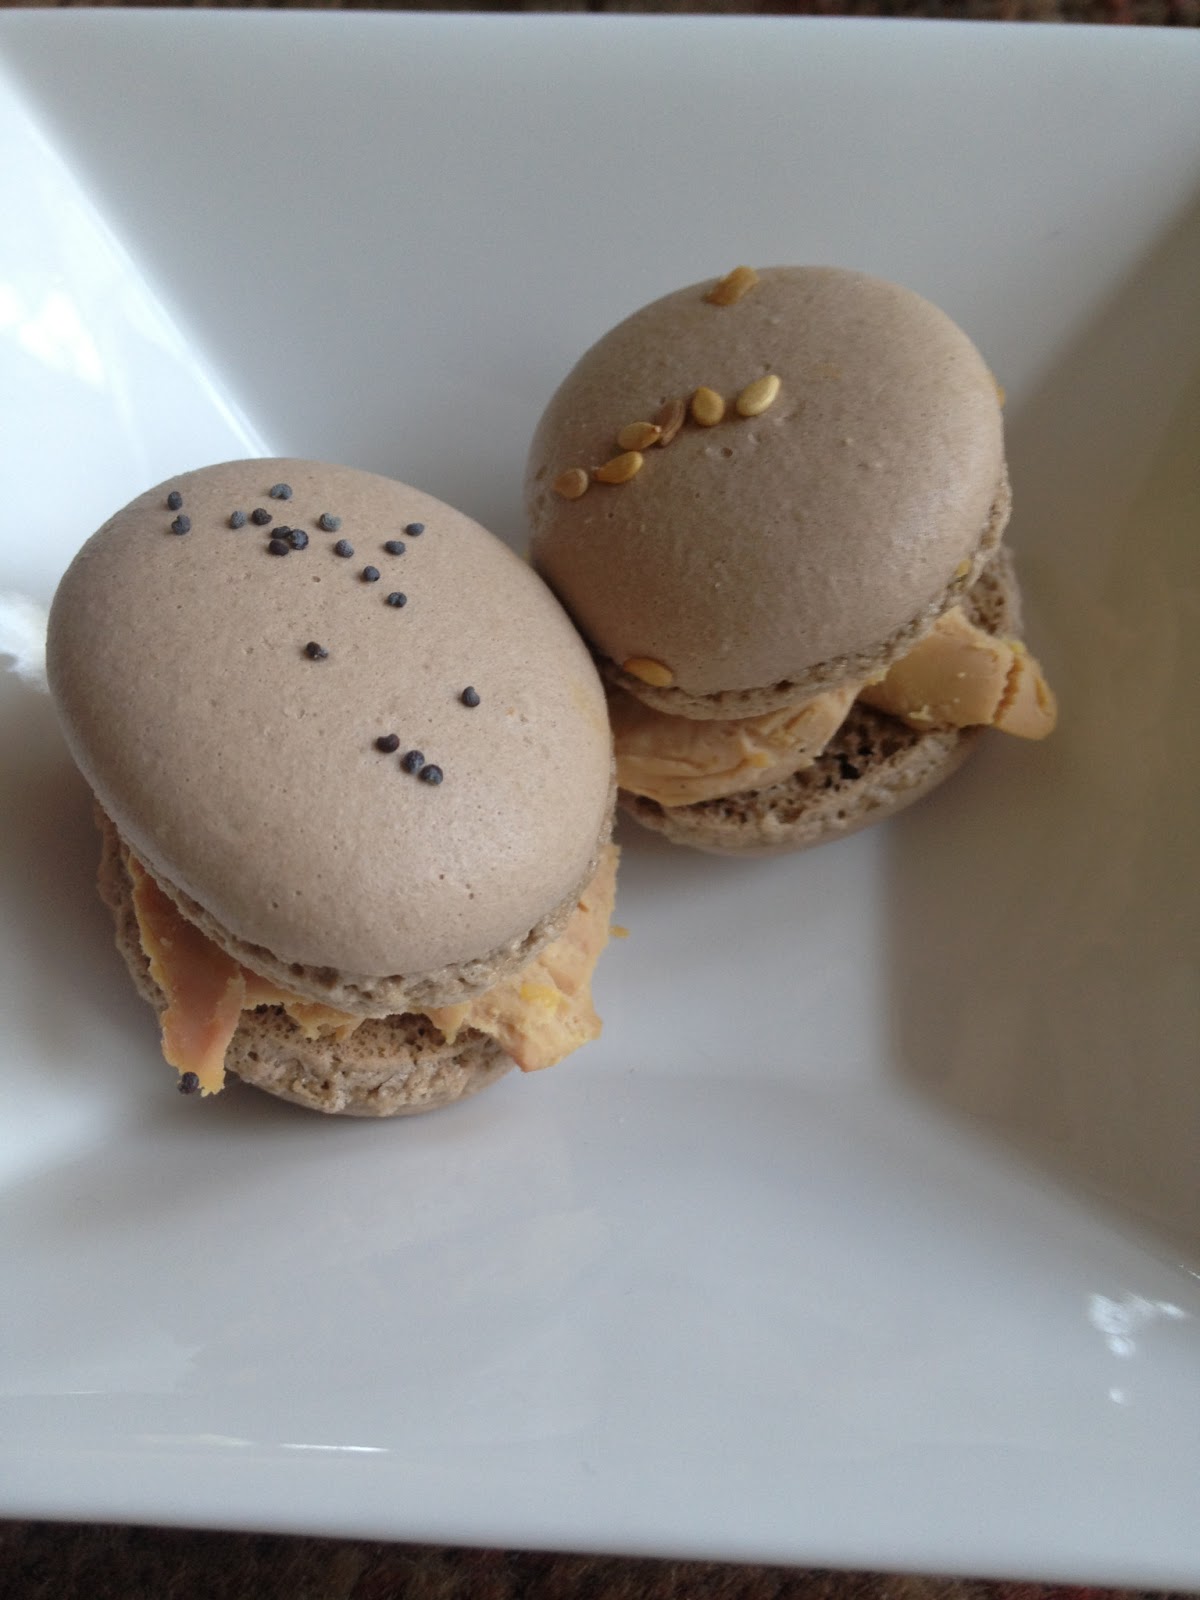
The savory macaron: topped with poppy and sesame seeds and filled with foie gras.
El macaron salado: cubierto por semillas de sésamo y amapola y relleno de foie gras.
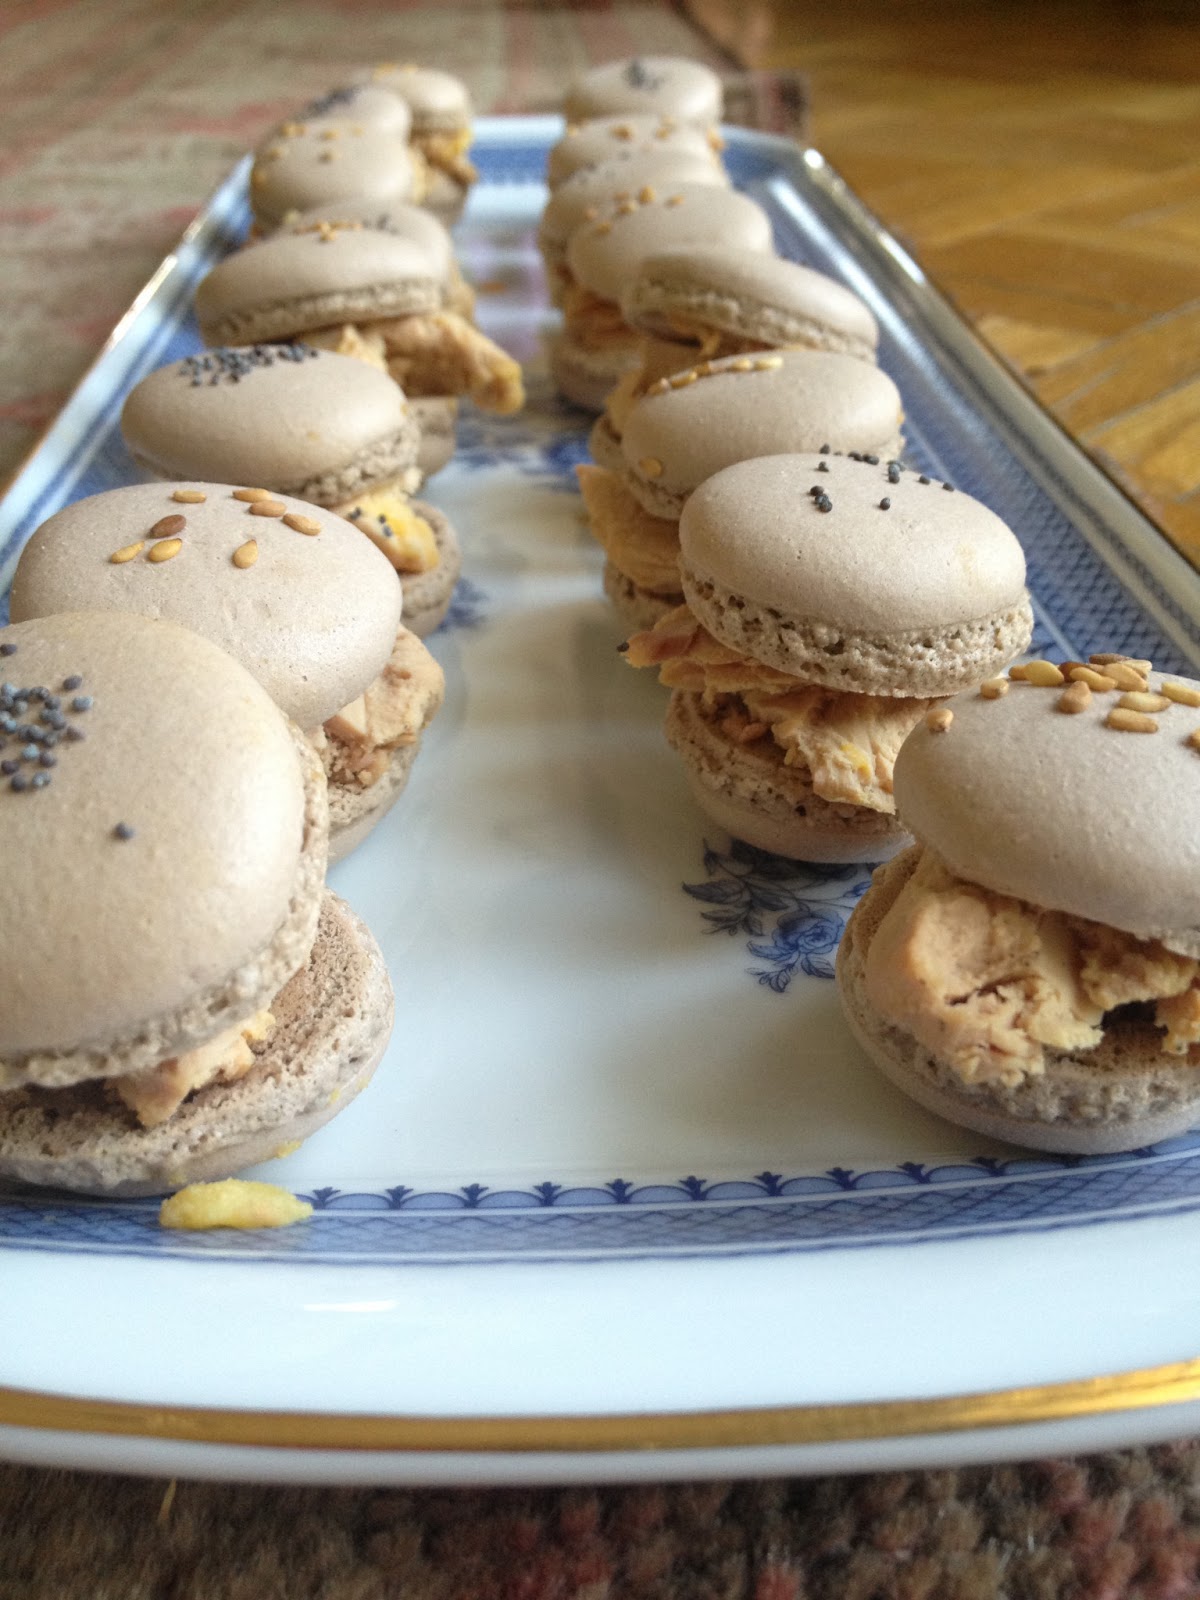
We added these seeds, but feel free to decorate your macarons any way you like!
Nosotras añadimos estas semillas, pero los puedes decorar de la manera que más te guste!
¿La receta? Pronto muy pronto la publicaremos, dejadnos que perfeccionemos unos detallitos y podréis disfrutar de los mejores macarons que hayáis probado nunca!


